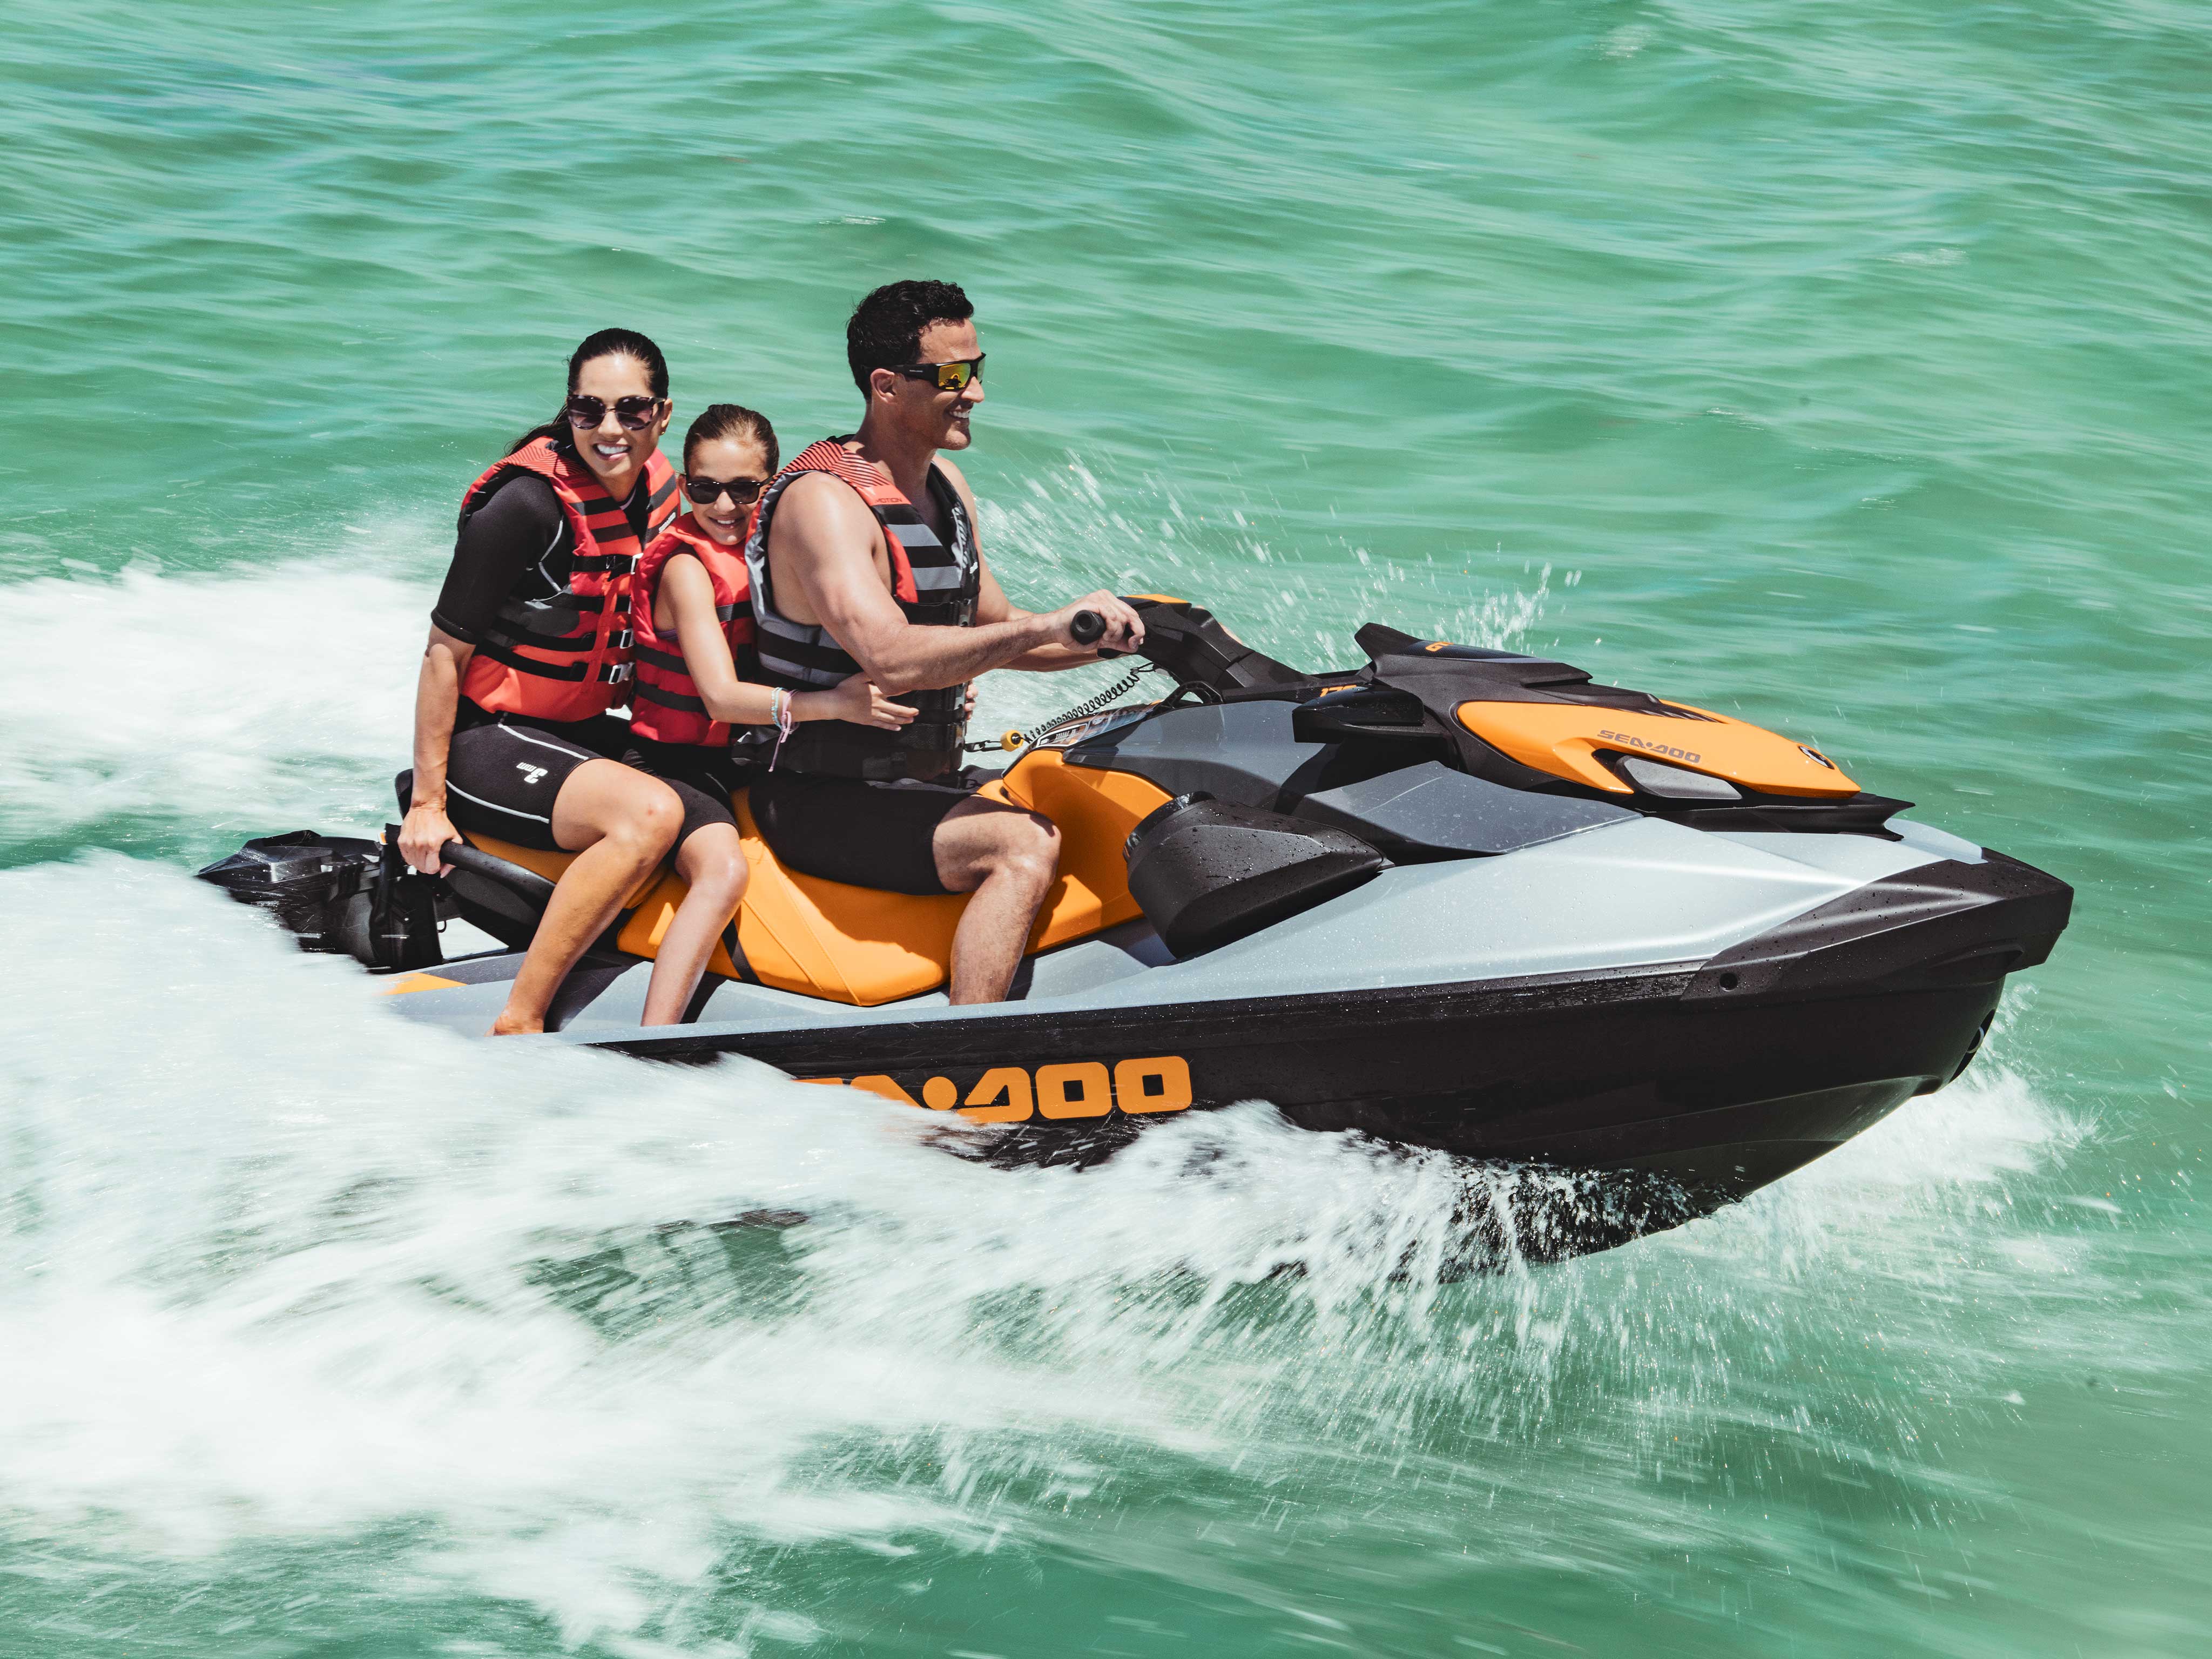
As the weather turns warmer, our minds start to think of the Sea-Doo season ahead. Here’s your quick checklist and few tips to get your Sea-Doo ready for a new season.
Whether you’re a DIY-er or a “I’ll contact my dealer” kind of person, following these steps in the order they’re outlined here will protect your investment in your watercraft and ensure it’s ready to perform at its best as soon as you’re ready to hit the water this season.
You can always refer to your owner’s manual to help with this process. Your local Sea-Doo dealer is also another great resource for assistance getting your Sea-Doo ready for another season.
Start with Spark Plugs
These should be replaced every couple of seasons to ensure you’re not stuck at the launch when the first hot day comes around. It’s a good idea to inspect or change your spark plugs as indicated in your operator’s guide. Changing them is easy or your Sea-Doo dealer can help.
1. Remove seat or top (if SPARK model) to access engine compartment.
2. Disconnect and remove ignition coils.
3. Using a standard 5/8-inch spark plug socket, remove the plug from engine.
4. Inspect plug for excessive wear and change if necessary.
5. Reinstall plug (or new plug) taking care not to cross-thread upon reinstallation.
6. Reinstall and reconnect ignition coils.
Discover how to change spark plugs on a Sea-Doo SPARK 900 ACE
Be Charged and Ready
If you followed your owner’s manual for long-term storage at the end of last season, you likely removed your battery from the watercraft. This is the time to place the battery on your battery tender and make sure it’s still ready to deliver the juice you need for a full season on the waves. Follow these easy steps:
1. Remove the battery from your watercraft by disconnecting the negative cable, followed by the positive cable.
2. Place battery on a dry, level surface and connect to your battery charger.
3. Most battery charges on the market will tell you if your battery is faulty. If you’re battery charges normally, you can reinstall once fully charged. If not, it’s time for a new one. Your local Sea-Doo dealer can help!
*TIP: Never charge or boost the battery while installed in the watercraft*
Inspect Sacrificial Anode
The sacrificial anode on your Sea-Doo is a wear item that – as its name implies – is meant to be replaced periodically to avoid any potentially serious damage to the watercraft. A quick visual inspection is all it takes. If your anode is worn more than halfway, it’s time for replacement. Your local Sea-Doo dealer can help you if you’re unsure if it’s time for replacement.
Inspect Wear Rings and Impeller
This is another quick visual check for any abnormal or excessive wear. Inspect both for any signs of deep scratches, nicks or unusual grooves. If you see any signs of water intrusion in the engine compartment, that’s a telltale sign you should contact your local Sea-Doo dealer for further assessment and service.
Replace Engine Oil and Filter
This is another item your Sea-Doo dealer can help you with, but if you’re a DIY-er, you’ll want to check out the XPS oil change kits available through your dealer or our online store. Everything you need for a complete oil change can be shipped to your front door in one box.
Replacing your engine oil and filter is simple. You’ll need the correct XPS oil change kit for your ski (contains oil, filter and O-ring), an oil pump or fluid transfer pump to extract old oil (available at most hardware stores), socket or wrench to remove oil filter cap, shop rags to clean up any drips or spills and a container large enough to hold the old oil (about 3 quarts).
1. Warm the watercraft up by running for 20-30 seconds to move oil through the engine.
2. With access to your watercraft engine, remove oil fill cap and oil dipstick (may vary depending on model).
3. Remove old oil by inserting oil/transfer pump hose into the oil dipstick location until it stops at the bottom of the crank case.
4. Suck old oil out with the pump.
5. Remove engine filter cap and old oil filter. Have a rag handy to keep dripping in the engine bay to a minimum.
6. Replace oil filter cap O-ring with new one from the oil change kit.
7. Seat the new oil filter into the oil filter cap or into the oil filter compartment (varies by model, consult your owner’s manual or Sea-Doo dealer).
8. Replace cap onto filter compartment and tighter bolts to secure in place.
9. Fill engine with fresh oil from the oil change kit, double check oil level for proper level with your dipstick.
Wash, Shine, Protect
Start turning heads with that showroom shine as soon as you’re on the water! XPS Wash and Wax is a one-step formula that will remove the dust, dirt and grime from your Sea-Doo that may have built up during storage. It also leaves all your watercraft’s surfaces looking like new with a high-gloss finish.
The start of a new season is also the perfect time to protect your watercraft surfaces with XPS Vinyl and Plastic UV Protectant. It keeps the suns harmful UV rays at bay and helps prevent cracking and fading.
Pre-Ride Routine
In order to ensure that first ride of the season goes just like you dreamed it would, take a refresher run through the pre-ride checklist provided in your Sea-Doo owner’s manual. And get ready to live another season filled with the Sea-Doo Life!